Showing posts with label Re-style. Show all posts

Friday, 20 March 2015

{DIY} Blue and Gold Dresser Makeover


About a month ago, Dave was away for 8 days on business. To fill up my evenings, I decided to tackle a long overdue project.

This dresser literally arrived on my doorstep one night. My wonderful brother-in-law is always on the hunt for roadside treasures and he saw this one, loaded it into his car and dropped it off one night way before Christmas! I put it away in the shed and forgot about it (Dave didn't - he kept reminding me it was taking up precious shed space!) until I had a moment of inspiration. 

Below is the before pic - I had to borrow this one from TradeMe because I forgot to take one! Mine was without the mirror or lip on the back edge.


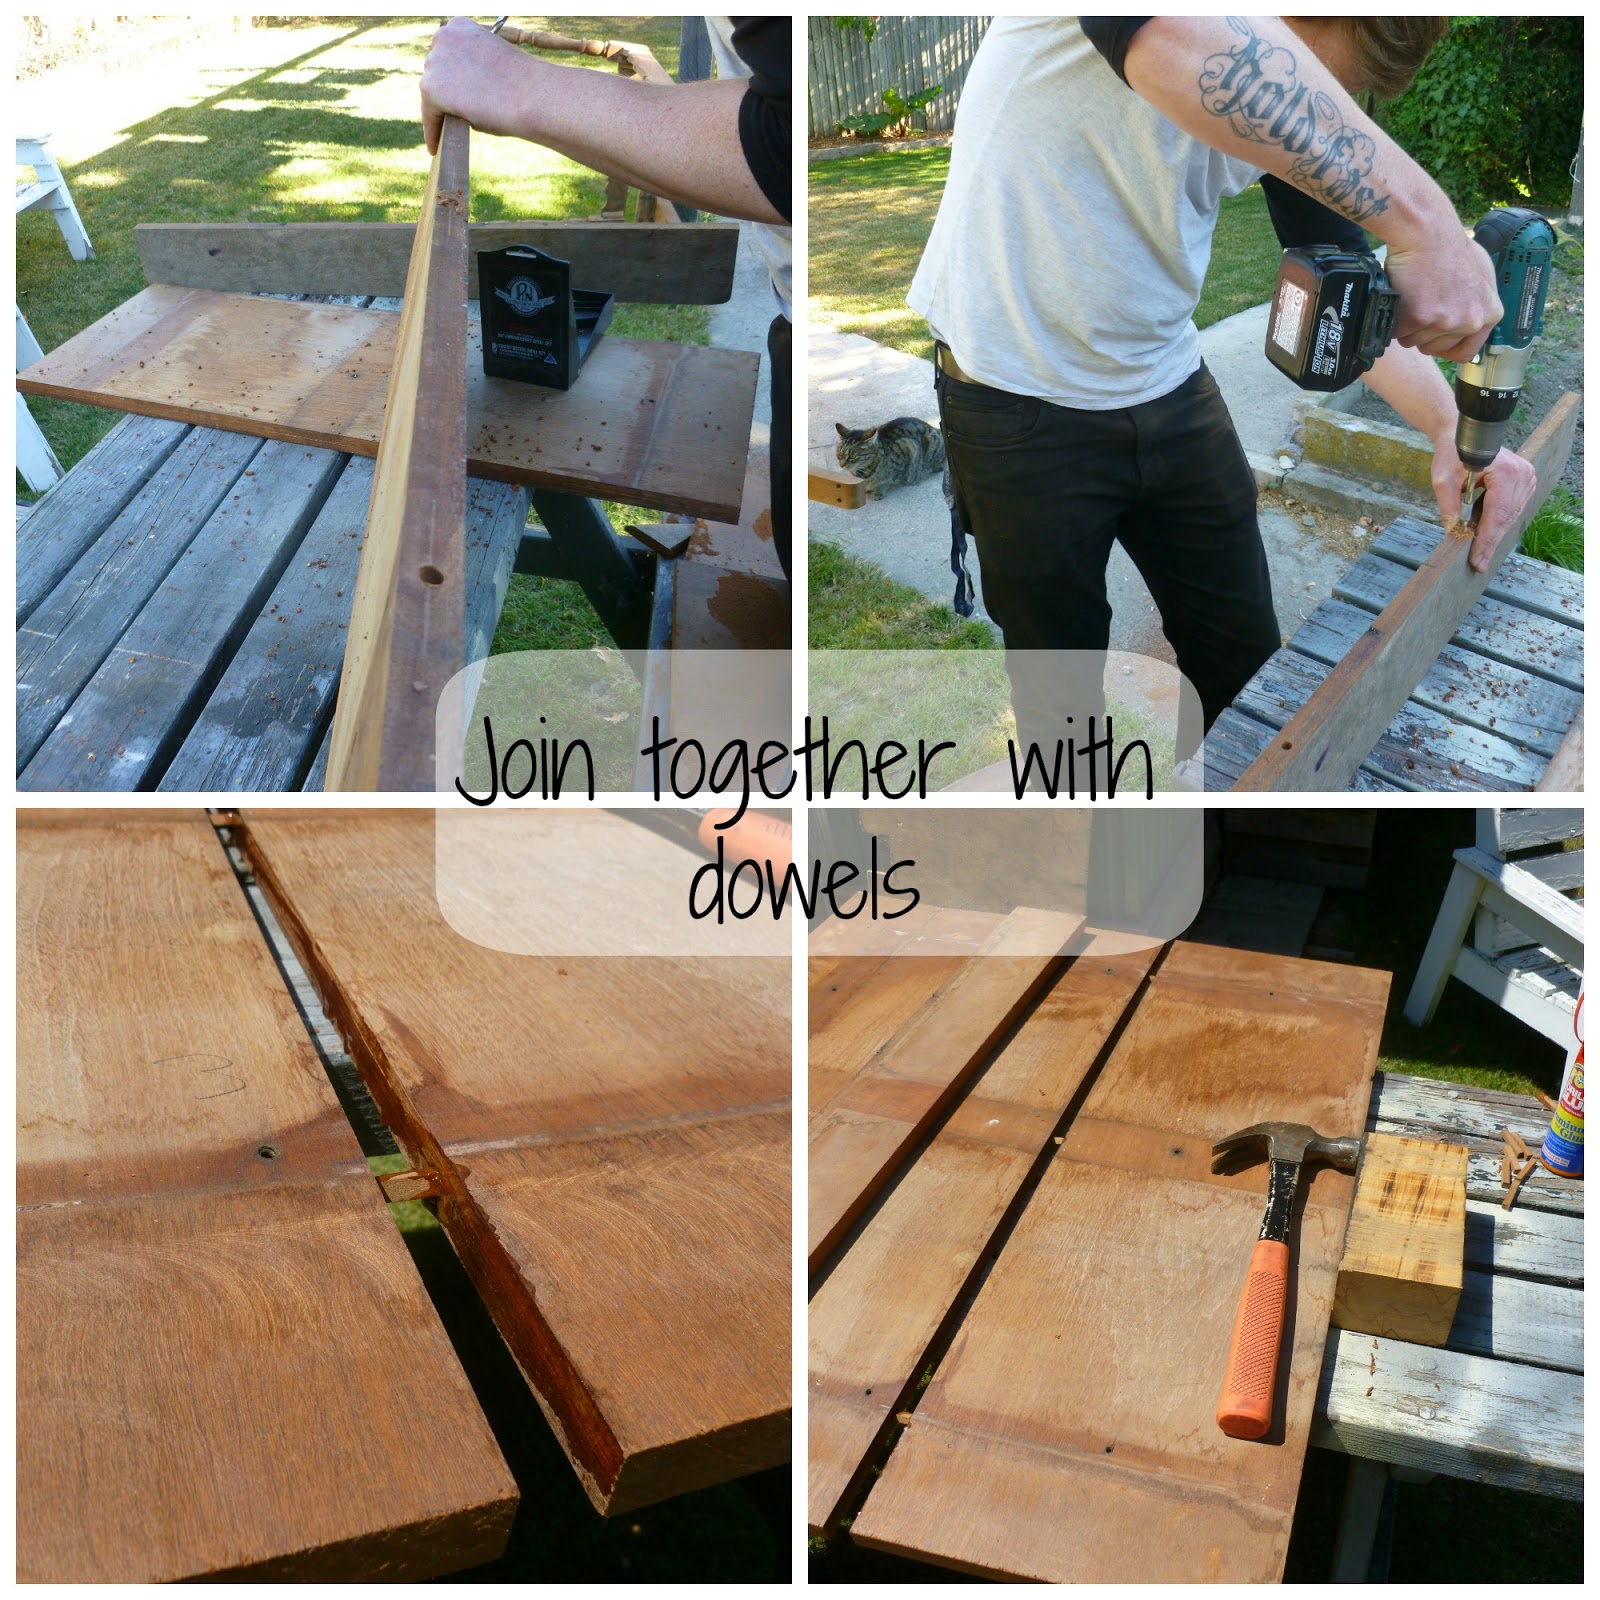
It was in ok condition, a few rough patches here and there and a few of the rails need replacing but still perfectly functional.

When we bought our house we inherited a bunch of paint cans in one of the sheds. One of the cans had this really pretty blue colour that I kept in my head for a someday project. I am also really loving the metallic/gold trend at the moment so I put the two together and boom.

I also wanted to make a feature of the inlays, not just paint the outline but fill it up with a statement piece. The Moroccan-ish pattern stuck out to me and so I went in search of something I could use to stencil.

Unfortunately what I wanted wasn't easy to stencil so I took the long route and made a template and carefully traced around it a bazillion times, trying to get the spacing even.


Then came the hours of hand painting between the lines, they needed a couple of coats too - Dave bought me a gold paint pen to make things easier but it got clogged and bled everywhere so I ended up using the paint from the pen and brushing it on.

Once that was done I had to figure out what to do with the handles. They were silver and white pewter and I couldn't make up my mind what to replace them with. I ended up spray painting the original handles gold and they turned out pretty good and still go with the new drawers.


I am so stoked with how this project turned out, it is exactly what was in my head and I managed to execute it all by myself!

It also cost pretty much $0 because we had everything lying around - (no wait I had to buy gold paint and the paint pen - so lets say $20)

This beauty is going in Addison's room and is the inspiration piece for the colour scheme. I am still to work out the details though. It is almost ready for painting - so close!

While I was taking these photos my kitty Killer came to help model the drawers for me!


Sunday, 23 March 2014

DIY Dining Table Re-Style


Our new home is much, much smaller than our last rental and doesn't have a dining room as such. We survived about 8 months of eating dinner off our knees until Dave had the awesome idea of re-purposing our old dining table which was braving the elements outside.

It was looking a little worse for wear, it had a couple of splits in the wood from getting wet but that didn't stop Dave. A round table was never going to fit in the corner of our lounge so Dave cut the table into the biggest square he could out of what he had. Some slightly difficult math went into this process and it went straight over my poor pregnant head. I did however, manage to get proof that I did help a tiny bit with this project - as you can see in one of the photos I was Chief Ruler Holder.

Dave's latest tool purchase was a router and he bought a fancy bit to pretty up the new edge of the table. He also decided not to stain or varnish it but just let natural oils build up and give it character. 

I am so proud of the work Dave did, it is a pretty professional job and I just love sitting at the dinner table each night with the TV off and enjoying our food.


Monday, 13 January 2014

Dip-Dyed Ombré Onesies


During the last week of my holiday I had an inspiration lightning bolt hit me. If I found some plain white onesies*, I could dye them myself and iron on some custom silhouettes!

*Also known as: All-in-ones, Stretch n' grows or vests.

One shopping trip and three days of effort later and we have some very cute newborn onesies for Baby C to wear a couple of times each! (here's hoping!)

Day 1 involved the Shopping Trip. With Dave at work with the car I decided on a casual walk to the local mall. Turns out buying a pack of plain onesies isn't as easy as I thought. I found this 3 pack at The Warehouse hiding behind all of the sale items. These weren't on sale. BUT I was set on my idea so they were bought.

My next stop was Lincraft, the local fabric etc store. I hunted down the fabric dye and tried to decide on a colour. I needed a unisex color and the TEAL packet leapt out at me. A quick stop at the supermarket to buy some rubber gloves was the last item on the agenda.

Once I got home I tried to decipher the fabric dying instructions. I didn't want to waste the whole dye packet on 3 tiny items of clothing so I guessed at halving the 'recipe'. I wanted to do an ombre type dye (fading gradually from light to dark) but the result wasn't quite what I had planned. After the first total immersion I held the top of the onesie and 'bobbed' it up and down in the dye to darken the lower half. The instructions told me that the desired colour would take up to half an hour of soaking to be dark enough - but who has time for that when you have to keep dunking it in and out of the mixture? Not me apparently. Five minutes later and I was done with onesie number one.

The second and third attempts were a more 'dip-dyed' approach, leaving half the onesie white. I still tried to fade the colour but again, who has the patience to stand and wait?

I rinsed the dye out with cold water and put them through the wash to set the colour. The result was one very nice teal colour that I am happy with!


Day 2 was Design Day. I trawled the interwebs looking for some cute silhouette images and settled on three. A fox (of course), some swallows and a fantail in a frame. I printed them out and traced them onto some black fabric that I had previously bonded with an iron-on glue type thing. After some very fiddly cutting out I ironed on the images.


Day 3 was Stitching Day. The transfer paper I used needs extra help to stay bonded so I started the mammoth task of stitching around each image. I used a simple running stitch around the edge to secure it onto the onesie. This one small task took most of the day to complete.


I'm really stoked with how these came out. It was definitely a labour of love but that is part of what nesting is all about right?

xx

Thursday, 16 May 2013

Fancy-Pants TV


As a moving in present to ourselves (that's counted as a housewarming gift right?) we bought ourselves a new(ish) fancy-pants TV. Yes I know we are slightly behind the times here but that isn't the point.

It arrived today so we have a couple of weeks of getting used to it before we move in to our new place.

To make things even fancier, Dave decided that he would up-cycle some furniture to become the new TV cabinet.

This set of drawers we found on the side of the road in all of its brown veneered glory. It was so fresh on the curb we had to ask the owners if it was free. Lucky for us it was. Sadly we have no before picture of the ugly drawers.

Dave decided that he would take out the top two drawers and turn it into some shelves. This would make them able to house our array of gadgets. The white paint looks epic and ties in nicely with the rest of our furniture. I can't wait to see it in the new place!


Wednesday, 13 March 2013

Standard Lamp Makeover Version 2.0


Remember last time I re-styled a standard lamp and I mentioned I had an idea in my head that involved red gloss paint? Well here it is. I am super excited because this project turned out almost exactly how I had it pictured in my head. That almost never happens!

I have now decided that THIS lamp will stay at home with us and the other lamp will be getting sold. This one matches our couches perfectly.

Here are some before and after pictures so you can see what a relief it is to have this lamp finished!


Haha I think that my lawn may be slightly uneven looking at these photos.

Anyway here are the details:

Lamp and Shade: Pretty sure it was around $20 from a garage sale.
Spray-paint: Super Cheap Auto's brand - around $7 per can, I used a Grey Primer and Gloss Red
Fabric: After hunting around fabric shops I found this fabric in curtain form at The Warehouse $39 for a pair and I used just less than one length. Cushions maybe?
Trim: $3.99 per metre from Lincraft. I used just shy of 6m

Surprise fact about this project:
The top 'crown' of the shade (as I like to call it) detatches completely from the main frame when it in unpicked. It sure makes it easier to recover, I'll tell you that! Plus that magic trim hides a multitude of stitches.

What do you think of the red? Is bold better?

Tuesday, 12 March 2013

Mirror Mirror on the Wall


One of my (many) projects half finished is this mirror frame. As you may remember I am the queen of brass frames and am always on the look out for things to do with them.


                      Spray-painted brass frames


 My next project is to turn these frames into mirrors.

I realised as soon as I enlisted the help of my amazing hubby, that this wouldn't be as simple as I thought. It turns out that cutting glass/mirror is more than just going at it with a saw. It requires safety goggles, a glass cutter, some sort of tapping device and a tonne of patience. None of which I have but my hubby has all of. He cut out the first one with me and when I asked if I could do the next one he said, 'you have to practice cutting straight lines first'.
BORING! I want to get this project done! But since that was the ultimatum, I have not cut straight lines and therefore not graduated to cutting curves.

Hence the project is at a standstill.

BUT, these frames are just sitting there taunting me so the next free afternoon I have I will practice my straight lines.


Friday, 1 March 2013

Standard Lamp Makeover


Another one of my collections involves standard lamps. It isn't huge but I am sure that it will grow, I just can't help myself. I own 3 so far, I have now re-covered two of them and I have big plans for the third. It involves the colour red.

Another thing I have to mention is why are before photos so terrible! (well mine usually are anyway) I think it is because by the time I remember to take a photo I am already in the zone of deconstructing - usually late at night - and who wants to ruin that zone! Well, that's my excuse anyway.

I had the fabric for this project lying around for about 2.5 years but it was disguised as a tablecloth and I had totally forgotten about it. I did a quick visual estimate and determined that I had enough material to tackle this project and I was away laughing.

I used some black trim on the top and bottom of the lampshade - inside and out and I used a total of 5.5m (I bought 6 - good guessing!)


Primer (at Dave's insistance)

First coat of black
The shade with the old wooden base

Let there be light!

The pretty turned base. I used matt paint but put a coat of clear gloss so it looks quite flat. I like it.


What do you think? Would this old piece fit in a modern room now? 
Would it be put in a corner or would it be pride of place somewhere?