Showing posts with label Quilt. Show all posts

Sunday, 14 January 2018

Fox(ish) Quilt


To start my crafty 2018 off, I decided to challenge myself. I have an amazing friend that I have known since primary school and she is having a baby pretty soon! I wasn't able to fly up for her baby shower so I decided to make something to send up.

They have not found out baby's gender so I decided to look through my fabric stash for inspiration. I had a bunch of orange/yellow/grey fabrics and a teeny scrap of fox fabric left so I squeezed three triangles out of that and made the other fabrics work around them. I wanted a relatively simple design so I went with rows of half-square triangles (it's a thing!), separated by some solid grey.

Once I had pieced together the quilt top I used a woolen blanket as batting and went to work with the quilting. This is the part I struggle with which is why in the past I have only done simple stitch-in-the-ditch quilting. I have issues with the back piece puckering and I get super frustrated hauling a huge and heavy quilt around my machine. However, I have been inspired by my friend Holly and her queen-sized quilt and I followed her lead and quilted random patterns on each triangle. I didn't really have any plan, which you can probably tell, but I challenged myself and I enjoyed doing it.


After I finished quilting each triangle I trimmed it to shape and added the binding. I handstitched it because it looks neater and I have a terrible track record of not catching the binding when I try to machine stitch it. 

I love the way this quilt turned out and I think that more will be on the horizon. I hope this quilt will keep bubba warm once it arrives. I love giving baby gifts!

You can check out some of my previous quilt attempts below:

Rainbow Chevron Quilt

Windmill Quilt

Vintage Sheet Quilt

Triangle Cot Quilt

Grey Stripe Quilt

Cross Quilt

Vintage Sheet Quilt #2


Tuesday, 1 September 2015

Triangle Cot Quilt


The other day, 6 rubbish sacks of fabric were dropped off at my doorstep to rummage through. A kind soul had done a big clear out and you know how the saying goes - one woman's trash is another woman's treasure!

I managed to withhold myself and only ended up with half a rubbish bag full with the rest passed on to another fortunate crafter. Among my takings were some beautiful vintage sheets. I picked out two blue/teal ones and added a pink striped sheet and a white cotton sheet from my current stash.

I have had this style of quilt in my mind for a while now, but never had the right fabrics to pull it off. With Addison's room coming along nicely, I thought a change of bedding in the theme colours of the room (teal, pink and gold) would work well.

I managed to make a equilateral(ish) triangle template and cut out all my triangles. Then randomly placed them which is harder than it looks. I then sewed together each line and then sewed those together until it was a giant cot sized rectangle. I trimmed the edges, made a quilt-back/batting/quilt-top sandwich and pinned them together using ALL the safety pins. Then sewed along all my seams and trimmed all edges. Next was the tiny white binding which I sewed onto the front piece by machine then hand-stitched the back. Aaaaaaand done. Phew.

I then realised it wasn't quite wide enough to get a decent enough tuck along the sides of the cot. My girl is a wiggler! So I flipped it on its side and used it that way. It works for now!

I also made a cot skirt/valance for the base of the cot in the houndstooth patterned fabric to match. It's so I can hide her porta-cot and other stuff underneath!

I'm pretty stoked with the outcome of this quilt, it is just how I pictured it in my head. I also have a whole lot more fabric to make quilts out of so once inspiration hit again, I'll be ready!


Sunday, 19 July 2015

Windmill Quilt From Vintage Sheets

Ok guys, it's been a while. This blog of mine is always on my mind and I have been secret squirreling away a whole bunch of projects that never get shown. All these little projects seem to take up so much time (along with the trials of a toddler, trying to be a good wife and making sure I get at least a little bit of me time once the kidlet is in bed). But I just did a browse of my camera and found a bunch of old (and new) projects I did manage to take photos of and I will set about sharing them over the next wee while.


First up is one of my recent completions. I had been helping a friend with her first baby quilt and it sparked an idea in my head for a quilt. As you have probably noticed I collect vintage floral sheets and use them in loads of projects. I love the mix between brights and pastels, large and small scale patterns. I also love how they look with white as the main background colour. I found a couple of brand new white sheets at an op shop for $1 each and along with the vintage sheets and an old duvet inner that had seen better days, I had the makings of a quilt. For a total of $2. Score!

This quilt made me think quite a bit. Literally. I had to do a bunch of math to figure out how big to cut each section of the windmill. I can't quite remember but I think I wanted the finished squares to be around 30cm each. So taking into account seam allowances and the rest of it, my brain turned to mush.

But after cutting and sewing, basting and wrestling with quilting a big quilt on a small machine, making some rainbow binding from the sheets and hand-stitching it on, it was finished. It aint a small task!

I really enjoy making quilts, I learn more each time and I try to do something different as well. This one will be destined for Addison's Big Girl Bed when she eventually gets to that point. But for now it keeps Dave and I warm while watching whatever TV series we are up to. (Currently Elementary)


Monday, 29 December 2014

Cross Quilt


For Christmas this year we tried to make the majority of our presents. It feels good knowing that you can still give a quality gift without having to spend a lot of money. Thankfully Addison is a good napper so I was able to get some crafts done in the two-ish hour chunks she naps.

I made this quilt for one of my really good friends. We met through Plunket and have children the same age, as well as living right round the corner from each other. I knew she would love the simple monochrome design and I made it slightly larger than her cot size so there is plenty to tuck in.

I pieced the top together but I just added a backing onto it and didn't quilt it so I probably should call it a blanket. The backing I used is the softest chevron minky fabric that I just love.

Looking closely at the quilt, I can see that my pattern designing skills need a LOT of work, I'm not sure what happened in the bottom few rows but it definitely isn't how it is supposed to be. Lets go with baby brain - I can still claim that right? 

Anyway, it was well received, flaws and all, and is now doing a great job keeping her baby snug, warm AND on trend. Win!


Friday, 25 July 2014

Rainbow Chevron Quilt


A long, long time ago I started making this quilt. I had the pieces all cut and sewn into rows and for some reason it got shoved away and forgotten about. When I finally had the inspiration to dig it out I remembered why I got stuck.

Originally I had all the coloured rows separated by a strip of white. Now this quilt is made up of vintage sheets and pillowcases so I only had limited material to work with so the width of the quilt ended up being around about single bed size. With the white strips in between the rows, the length of the quilt top became a bit out of control and would probably only work for the worlds tallest basketball player. My intentions at the time were to somehow add a border and widen it a lot but I couldn't make myself do it.

Once I dragged it out again last month I decided to rip it apart and take out the white strips. This made the quilt so much more manageable and became a perfect single bed size. The white strips got sewn together and became the binding which I hand stitched onto the back. I used the leftover sheet material to make a slap dashed quilt back that was vaguely rainbow coloured. I bought some batting and quilted along the chevron lines.

The plan was to do a bunch more machine quilting but silly me didn't line up the points of the chevrons so it would have ended up all puckered and funny looking. Lesson learnt.

Now I have a pretty, bright coloured quilt to keep me warm over the rest of winter and hopefully it will become a special quilt for Addison when she is in a big girl bed in a year or so.


Thursday, 2 May 2013

Rainbow Chevron Quilt

It has been quiet here on the blog lately, but it's because this happened:


We officially own our very first house! Things got a bit stressful at the end there and I am planning a blog post on First Home Buying In Canterbury Right Now. It's madness I tell you!

But more about that later, we have 6 weeks to pack up and sort out our stuffs. And we have plenty of it.

My latest project (I have two on the go but one is a secret) is a pretty Rainbow Chevron Quilt.
I am making it out of vintage floral sheets and the solid colours are from pillowcases.

I think the entire material for this quilt with a tonne left over was $20. Take that Spotlight! 
*Not including batting but I have a cheap source (Kutwell Fabrics).


I am in love with some of these fabrics! I couldn't find a red one because apparantly they weren't made in red! So I found some red floral in the scrap bin and it fits in perfectly.

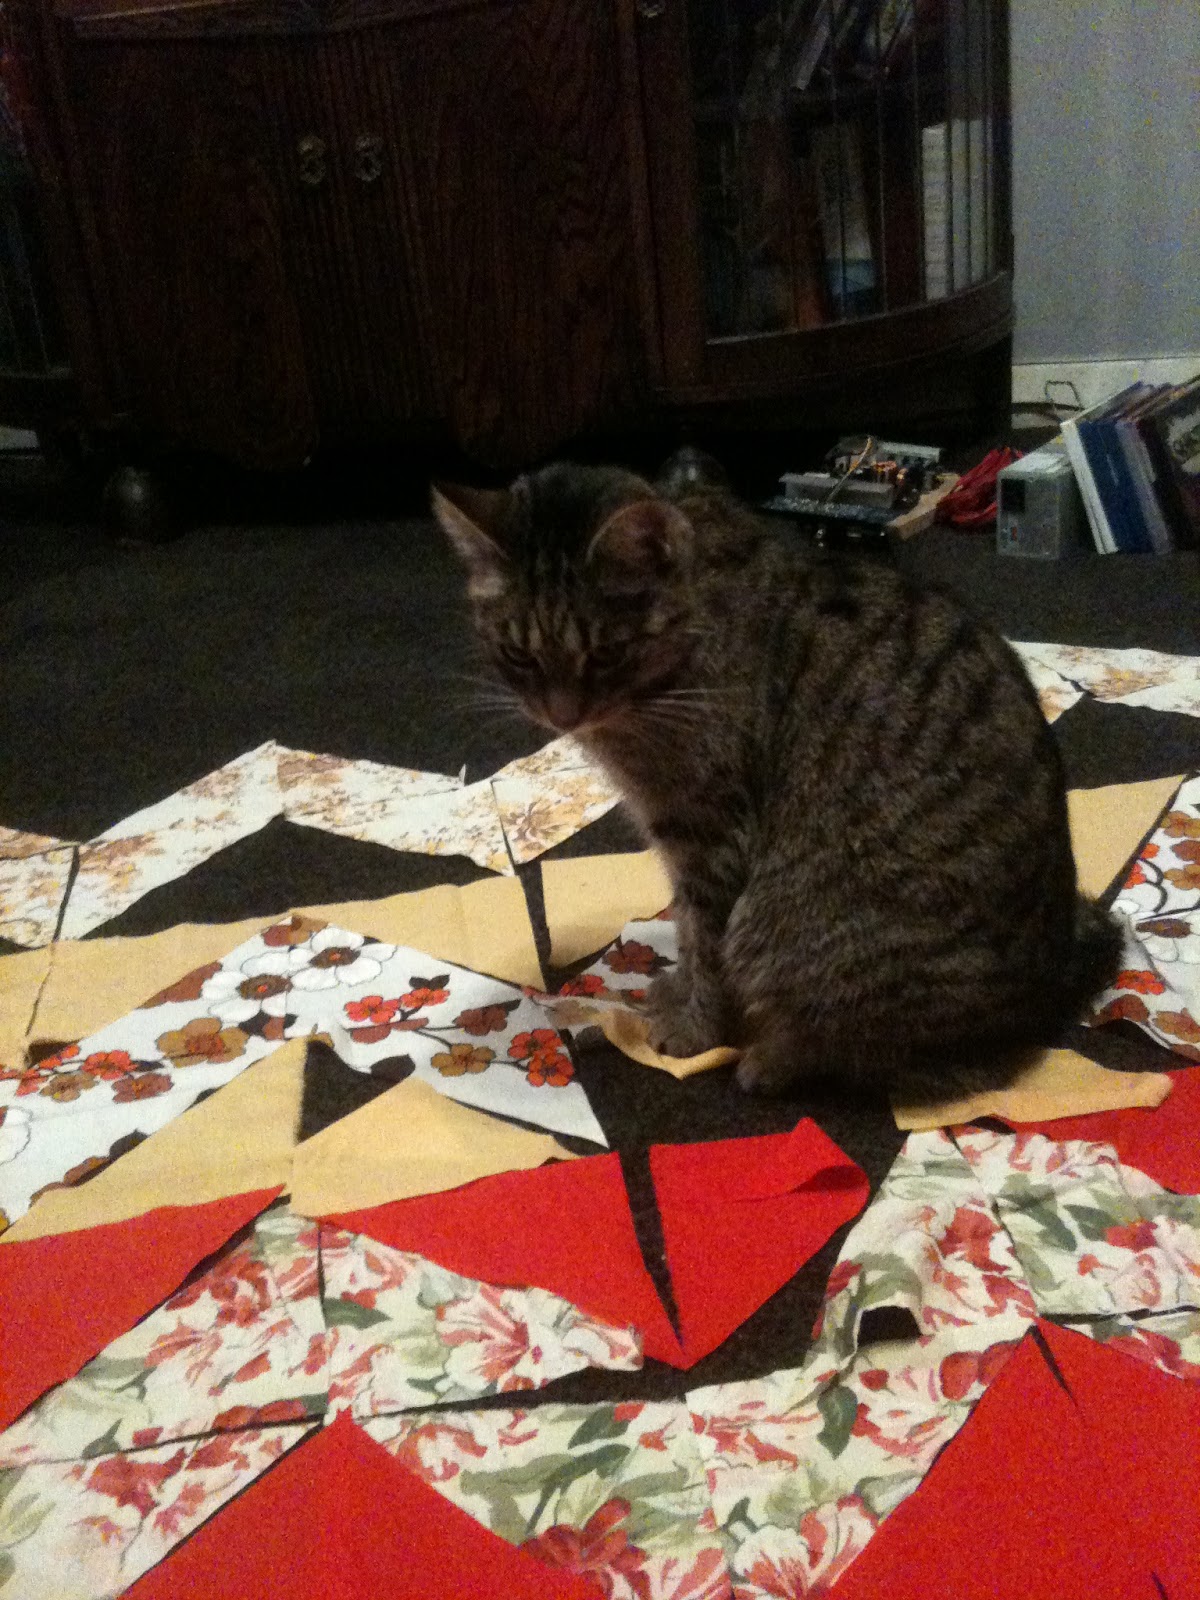
Killer was 'helping' me lay out my pieces but what you don't see is her going mental and messing everything up. She loves it when I get the big sheets out and likes to hide under them. She also sits on everything important.

Photo bomb

I was hoping it would be double size but it looks like it will be a single quilt. I love when it is all spread out like this but it is highly impractical. 
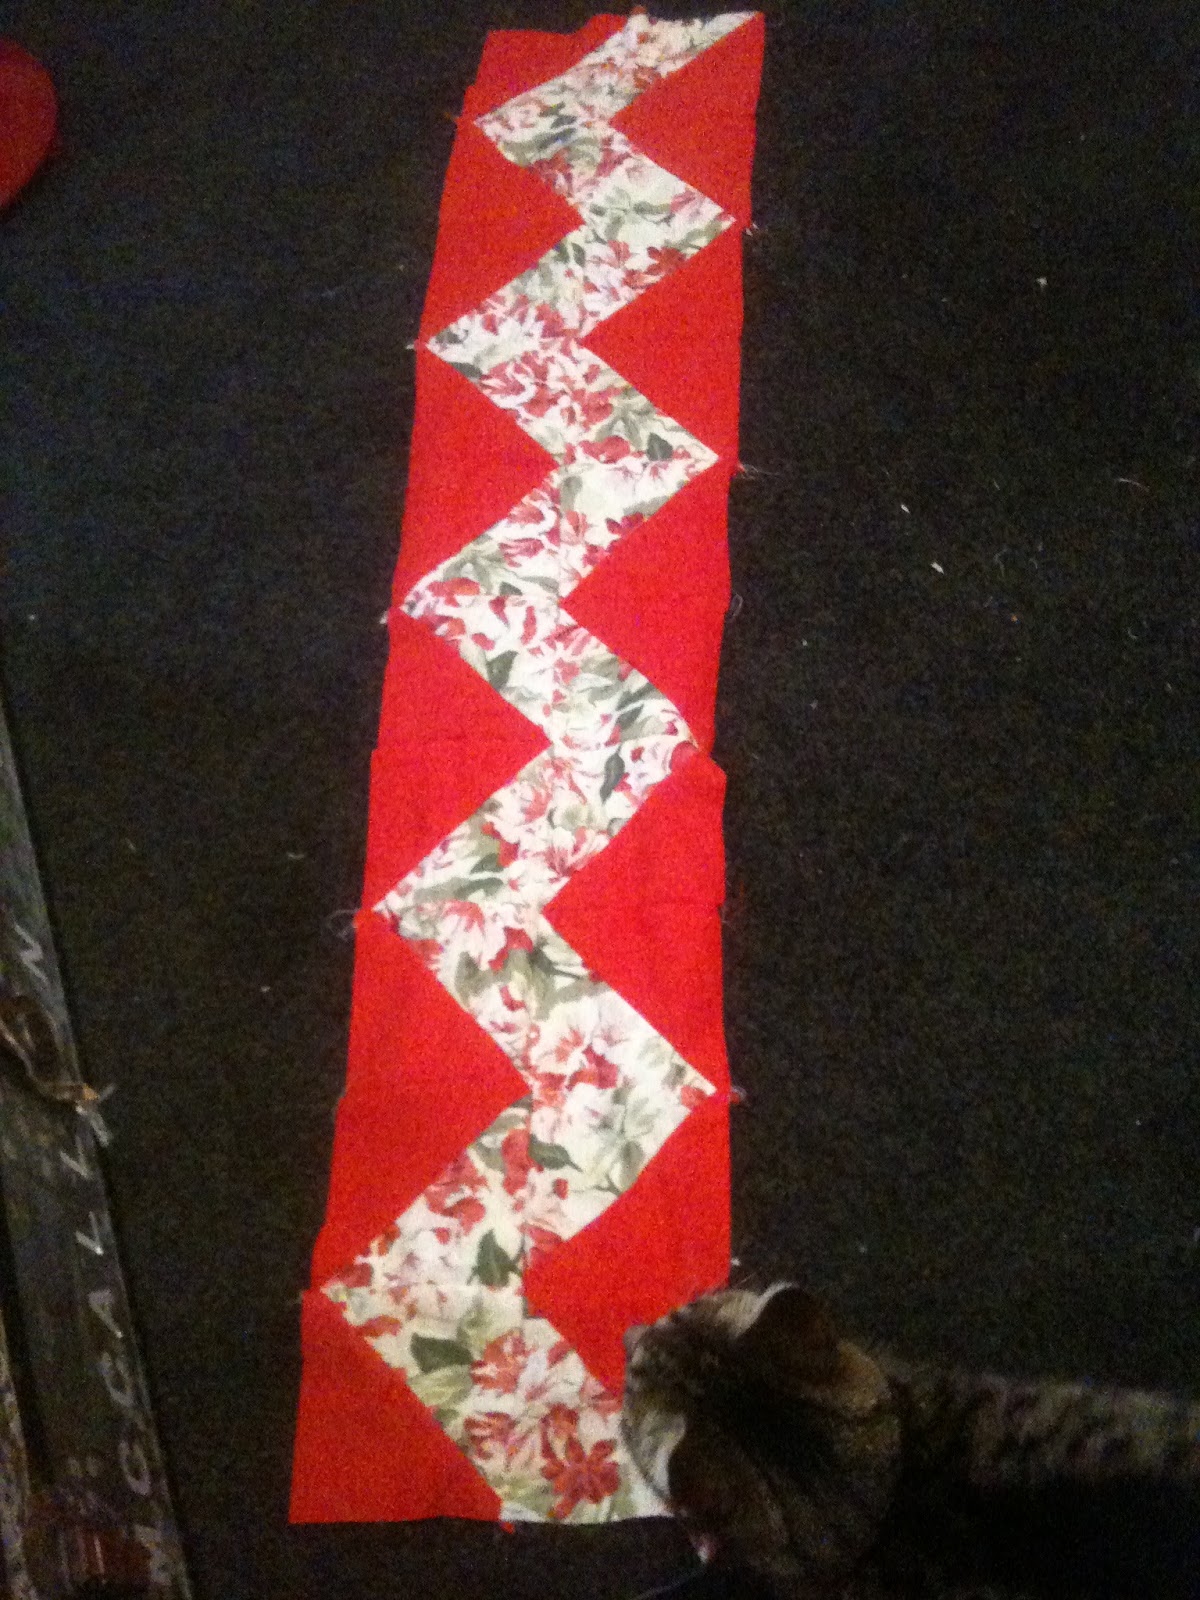
So here is half of it, I have altered the green stripe to make it looks a bit more green - I found the solid green I bought! The rest is yet to be cut. So slowly but surely!

Monday, 1 April 2013

{Tutorial} Quilted Laptop Case


 Need a pretty yet funtional laptop case that will protect it from scratches and knocks from textbooks? This quilted laptop case fits the bill. made with lightweight batting it is not too bulky but gives a nice amount of padding to keep your precious laptop safe.

You will need: 
  • Approx 1m* facric (non-stretch) for outside of case
  • Approx 1m* contrasting fabric for lining
  • Approx 1m* thin quilt batting/wadding
  • 2m Bias Binding in matching or contrasting colour
  • 2x large buttons
  • Matching thread
  • Sewing machine
  • Sewing needle

*This laptop case was made for a 13" Macbook Pro. It used around 75cm of each fabric.

Step 1
Lie out your main fabric and put the laptop on top. You want enough fabric to be able to fold completely over it from top and bottom. Leave at least 20cm on each side. Cut to size.


Step 2
Cut the lining and batting out the same size as the main fabric.


Step 3
Lie the 3 pieces of fabric together, right sides facing out and pin along one side. When this gets quilted the layers might shift off-centre. This is why we allow a large seam allowance.


Step 4
Quilt the 3 layers together. Hold the layers tight as you sew to prevent puckering. Feel free to quilt whichever way you like, straight lines, wavy lines or patterns.

Front side quilted
Lining side quilted
Step 5
With lining side facing out, fold up the new quilted fabric to cover the laptop. Pin along the sides of
the laptop. Make sure the laptop fits in quite tight to prevent it from sliding around the finished case.


Step 6
Sew up the pinned sides of the laptop. Make sure you remove the laptop before you do this!
 

Step 7
Trim close to the edges up the sides of the case, including the top flap.


Step 8
Overlock the sewn edge. If you do not have an overlocker then just use a medium zig-zag stitch on your sewing machine.


Step 8
Flip the laptop case right way out and push out corners.


Step 9
Cut a length of bias binding about 5cm longer than your front edge. Pin along the edge and fold edges over so they look neat and tidy.


Step 10
Sew the bias binding on to the front edge.


Step 11
Trim the corners of the flap into curves. Or leave square if desired.


Step 12
Pin the remaining bias binding around the edge of the flap of the case. Fold over the ends to make a neat edge and sew along. Trim off any thread ends.


Step 13
If your sewing machine has a buttonhole setting, let it do its thing, if not:
 
Cut a slit for a buttonhole through all three layers of fabric near each curve on the top flap.


Step 14
Hand stitch around the edge of each buttonhole. 


Step 15
With the flap closed, find the point which the buttons will fit through the button hole. Open the flap and sew each button onto the bottom part of the case.


Step 16
Finished! Make sure all stray threads are trimmed and button holes fit the buttons.


I hope this tutorial has been helpful. If you have any questions or trouble following it, just ask a question in the comment section below and I will do my best to help!

This pattern is free to use but if you make one, please link back here.

Happy quilting!