Thursday 25 April 2013

{Crafty Bake} ANZAC Biscuits - The Ever So Slightly Healthy Recipe


Is there any day that is more appropriate to make one of NZs most iconic biscuits than ANZAC day?

I didn't quite make it to the dawn parade (although my cat made a pretty good case that 7 was a good time to wake up) but this is my way of remembering the bravery of our fallen soldiers....by eating biscuits...

When making my instant porridge last year I found a magnet in the bottom of the box. On the fridge it went until today when I remembered that there was a recipe for ANZAC biscuits. BONUS - it is a healthier version!

Harraways Healthier ANZAC Biscuits 

Makes 16 medium sized biscuits


2 cups Harraways Rolled Oats
1/2 cup Coconut
1/2 cup Sugar (I used brown sugar)
1/2 cup Flour

125g Margarine with the Healthy Tick (I used proactive)
2 T Golden Syrup
1 tsp Baking Soda
2 T Boiling Water

Pre heat oven to 180 degrees Celcuis.
In a bowl mix together the oats, coconut, sugar and flour.
In a separate bowl melt together the margarine and golden syrup.
Mix baking soda well with the boiling water.
Add all ingredients together and mix well.
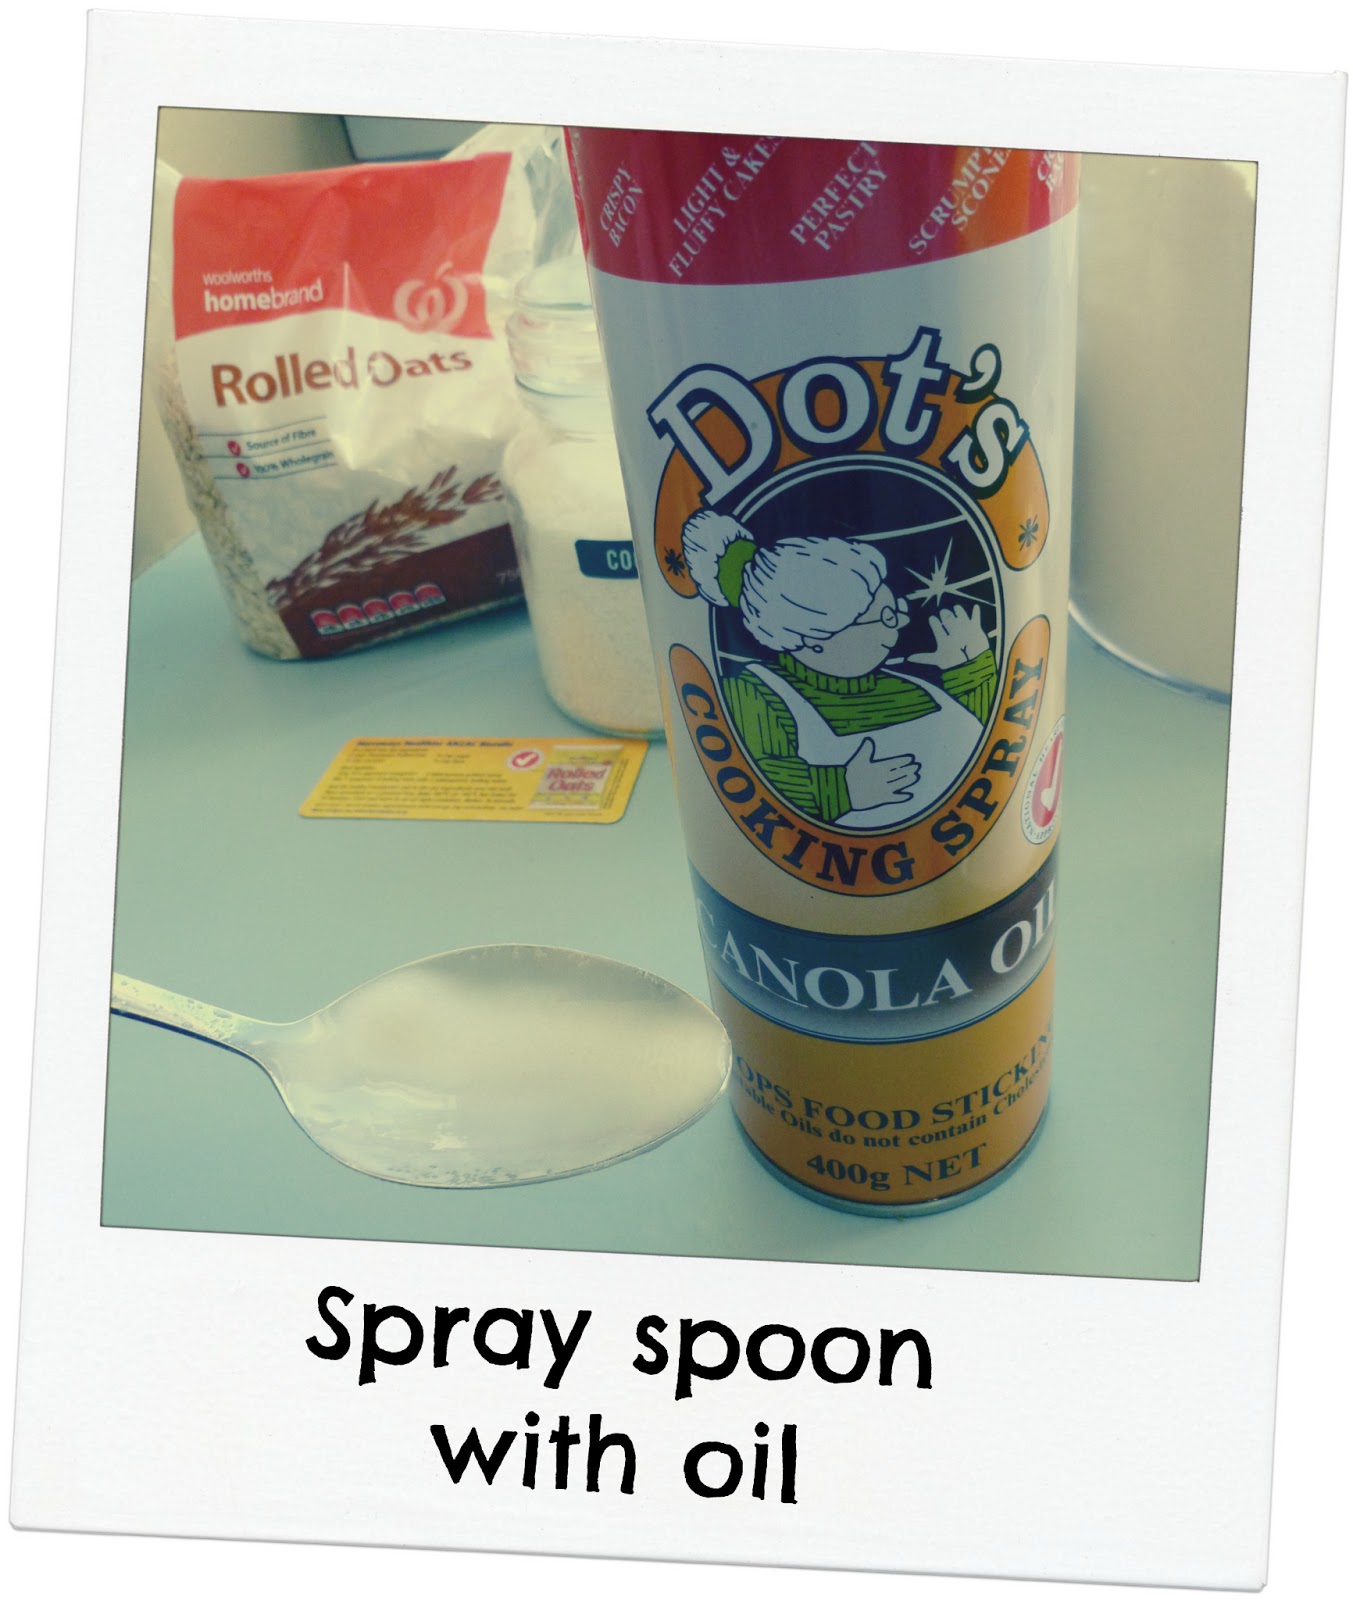
Place spoonfuls onto a greased or lined tray.
Bake for 15 minutes.
Store in an airtight container when cool.


Golden syrup tip:

Squash them down after rolling them into balls!


Tips:
  • Brown sugar will give a slight caramel taste as well as a slightly darker biscuit than white sugar.
  • I like to roll the biscuits into balls then squash them - I found this mix was quite sticky so I lightly floured the palms of my hands so the mixture wouldn't stick. Repeat as many times as needed.
  • As soon as the baking soda hits the boiling water the reaction starts. Make sure you don't wait too long to get those bad boys in the oven! 
  • For a not-so-healthy alternative try drizzling them with melted chocolate or half dipping them.
  • When a recipe says it makes a certain number of biscuits, make sure it does, the cooking time is tailored to that size of biscuit.


     ENJOY!!


Sunday 21 April 2013

Diary of a Derby Girl {Part 4 - Gear}


Look at my stash of derby gear!! All that's missing is a mouthguard. Success! My skates are awesome leather ones I got second hand from a Dead End Derby skater on Trademe, which fit me perfectly. Although each week I change something different to try an find my ideal setup. Tighten the trucks, loosen the trucks, tighten them a teeny tiny bit, swap wheels over, change the lacing configuration, it all affects the way you skate!

The helmet was Daves from his BMX days (hence the stickers) and I use it when I bike to work too.

The rest of the safety pads I was donated by my amazing friend Ivy (Minnie Mayhem - remember her?) and so far they are standing up to the vigourous wear and tear that freshmeat provides.

I also am gathering up a bunch of tights to wear when training - it prevents rink rash! Nasty stuff that.
Still no pics of me in my gear yet. Now that I actually have everything it will make for a better photo I think.

Freshmeat is going well so far but that is a story for another time.

xx

Thursday 18 April 2013

Stuck On You Giveaway Winner

CONGRATULATIONS...


RACHEL BAKKER


I shall email you shortly to give you the details of your prize winnings!

Thanks for entering guys, and for more chance of winnings, pop over to see Stella over at A Very Dark Horse!

Tuesday 16 April 2013

Bloggers Connecting


All these photos I 'borrowed' from the wonderful collection that has been gathered. Thanks anonymous ladies!

This past weekend I spent on what Miriam likes to call a Giant Internet Date. Meeting 60+ lovely women who are passionate about blogging and creating a tangible community. So many different ideas, talents and personalities combined into one amazing weekend.

For those of you who haven't stopped by before - welcome! I am looking forward to developing the brief contact we had over the weekend into friendships!

As I sort out my thoughts from the weekend I will share more. But for now you will have to settle for the craziness that happens when you put me in front of a photobooth. I could have gone all night. Seriously!


 <3

Tuesday 9 April 2013

Diary of a Derby Girl {Part 3 - Learning}


{Part 1 - The Beginning}
{Part 2 - The Nudge}

{Part 3 - Learning}

After I got a reply from one of the Christchurch Leagues, the waiting began. They had their Freshmeat intake coming up but before that they offered a month of Learn to Skate classes. These classes were for people who were interested to come and check it out, and see if it was for them before committing to the league (Freshmeat requires you to pay subs and have your own gear - which gets pretty expensive) so it makes sense to weed out the wusses first.

The first night I showed up with my bag of second hand gear and retro skates and was met by some of the derby girls who would be our tutors over the next 4 weeks - and beyond. The other would-be-derby-girls trickled in, about 16 of us in all. There was a giant pile of less than perfect gear in the middle of the gym and the girls renting gear took their pick. It was a great half hour of everyone trying to figure out what safety pad went where and what size skate we wear.

Once the gear was on we wobbled around the track (an oval) and tried to get used to the skates. We were all pretty wobbly at first but after a few laps most of us started to look a bit more in control of our flailing limbs.

Over the four weeks we learnt a lot of skating basics. Our lessons were split into two halves - on skates and off-skates. When we were off-skates we learnt how to play derby while not wearing skates (so tiring!), some strengthening exercizes for our legs, knees and ankles and some agility stuff while playing games like dodgeball and a couple of other kids games. We also learnt about the basics of our gear and what we want to have. My favourite part was playing dodgeball. The trainers were trying to tag us while we ran from one end of the gym to the other and once we got out we had to go to the side and get into derby position and remain like that until the last person got tagged. Derby position is essentially a deep squat like you do when you pee in a public toilet. That is how we skate - the lower the better. Anyway, for the first time in my entire life I was actually good at this game and managed to stay un-tagged until the end most times. I even was the last woman standing once! I felt sorry for the poor girls that got tagged first though - it takes days for your thigh muscles to recover!

When we were on skates we learnt some basic skills which we will cover in more depth during freashmeat. We learnt how to skate in derby position and how to do a couple of stops - the T-stop and the snow-plough, or the plough as it is affectionately called. We learnt how to do a few falls - single knee, double knee, baseball slide and a four point fall. Having the huge knee pads make this so much better than it looks. It actually feels like you are falling on pillows.

Other things we learnt when we were on skates were how to do crossovers around turns and learning how to balance on one foot. This is what I find hardest. Both my static and dynamic balance is pretty shocking but after we did some ankle strengthening one week I could tell I was slightly better. 

After the third week I decided to commit and I bought some proper derby skates. They are pretty snazzy and feel so much different to my retro skates but I know I will be much better learning in them.

So as of tonight I am officially in the Freshmeat Intake of Otautahi Roller Derby, I am off to get knackered by some intense training and I will be updating my progress as I go!


Thursday 4 April 2013

How to Revolutionize Your Kitchen and Bathroom (A Stuck on You Review and GIVEAWAY)


*ahem...infomercial voice*

So who still uses the Greggs packets of herbs and spices? (probably containing the 11 secret herbs and spices if you get the right combo!)

Do you have a million half-empty packets floating around in pantry-space somewhere?

Well you, women (and men) of the kitchen can rejoice because I have found the solution to those herby, spicy problems*

*not guaranteed

Thanks to the wonderful folks at Stuck on You I have revolutionized my seasonings! And you could too!


Their Kitchen Labels (which come in a variety of designs) now adorn 16 clean and shiny baby food jars (you're welcome) and are filled with my herb and spice collection. Which is bigger than I thought. Who knew I would have more than 15 seasonings!


There is also talk that holes may be drilled to make these into shakers (again, you're welcome).

Now these Kitchen Labels are pretty awesome in my opinion. Firstly, they look way tidier than I could write my own. Which was my old labelling system. Secondly, they double as a shopping list - (I have no cereal or brown sugar!). Thirdly - you can re-stick them! This is ideal for the perfectionist or shakey handed person who can't get them on straight. They have also been microwave and dishwasher tested - zap and wash these safely my friends!


There are some pretty clever label choices in there too - Mum's treats, HANDS OFF, First aid, POISON. May I suggest putting the dog biscuit label onto the human biscuit container and see how long it fools them?

I still have a bunch left, it appears I need more containers! However my poor Star Anise has no label. But how many people have it? Or use it for that matter?

When I received these labels in the post, they came in a giant bag that took up half the bed. Why so big you ask? Well I was also sent a personalized Luxury Bath Towel. Not only that, Dave got one too! How cool are we having our very own towels with our names on them. Definitely up there with Posh and Becks (are they even cool?)


Here is what Dave had to say about his towel - 'Heavy... Fluffy.'
I agree. These towels have a good weight to them and are nice and soft on the body. But don't be an eager beaver like me and remember to WASH THEM FIRST. Or else you will be just as fluffy as the towel. Not a good look.

The other great thing about these towels is that they make your bathroom look snazzy. It also makes you want to fold your towel nicely so your name shows. Our names are a pretty close match to the towel colour so they have a bit of a tone-on-tone thing going on. But you can also get a bright coloured font so there will be no towel related arguements.


Now here's the best part - Stuck on You have been generous enough to offer one of you lucky readers a SET OF KITCHEN LABELS and one personalised LUXURY BATH TOWEL for free!

All you have to do is leave a comment with your favourite design of Kitchen Label!
The winner will be drawn on Thursday April 18th. Make sure you leave your email address so I can contact you!

*Winner will be picked by random and will recieve a voucher code (including postage) to use on these products on the Stuck on You website.

For more Stuck on You: Facebook Twitter Pinterest

Monday 1 April 2013

{Tutorial} Quilted Laptop Case


 Need a pretty yet funtional laptop case that will protect it from scratches and knocks from textbooks? This quilted laptop case fits the bill. made with lightweight batting it is not too bulky but gives a nice amount of padding to keep your precious laptop safe.

You will need: 
  • Approx 1m* facric (non-stretch) for outside of case
  • Approx 1m* contrasting fabric for lining
  • Approx 1m* thin quilt batting/wadding
  • 2m Bias Binding in matching or contrasting colour
  • 2x large buttons
  • Matching thread
  • Sewing machine
  • Sewing needle

*This laptop case was made for a 13" Macbook Pro. It used around 75cm of each fabric.

Step 1
Lie out your main fabric and put the laptop on top. You want enough fabric to be able to fold completely over it from top and bottom. Leave at least 20cm on each side. Cut to size.


Step 2
Cut the lining and batting out the same size as the main fabric.


Step 3
Lie the 3 pieces of fabric together, right sides facing out and pin along one side. When this gets quilted the layers might shift off-centre. This is why we allow a large seam allowance.


Step 4
Quilt the 3 layers together. Hold the layers tight as you sew to prevent puckering. Feel free to quilt whichever way you like, straight lines, wavy lines or patterns.

Front side quilted
Lining side quilted
Step 5
With lining side facing out, fold up the new quilted fabric to cover the laptop. Pin along the sides of
the laptop. Make sure the laptop fits in quite tight to prevent it from sliding around the finished case.


Step 6
Sew up the pinned sides of the laptop. Make sure you remove the laptop before you do this!
 

Step 7
Trim close to the edges up the sides of the case, including the top flap.


Step 8
Overlock the sewn edge. If you do not have an overlocker then just use a medium zig-zag stitch on your sewing machine.


Step 8
Flip the laptop case right way out and push out corners.


Step 9
Cut a length of bias binding about 5cm longer than your front edge. Pin along the edge and fold edges over so they look neat and tidy.


Step 10
Sew the bias binding on to the front edge.


Step 11
Trim the corners of the flap into curves. Or leave square if desired.


Step 12
Pin the remaining bias binding around the edge of the flap of the case. Fold over the ends to make a neat edge and sew along. Trim off any thread ends.


Step 13
If your sewing machine has a buttonhole setting, let it do its thing, if not:
 
Cut a slit for a buttonhole through all three layers of fabric near each curve on the top flap.


Step 14
Hand stitch around the edge of each buttonhole. 


Step 15
With the flap closed, find the point which the buttons will fit through the button hole. Open the flap and sew each button onto the bottom part of the case.


Step 16
Finished! Make sure all stray threads are trimmed and button holes fit the buttons.


I hope this tutorial has been helpful. If you have any questions or trouble following it, just ask a question in the comment section below and I will do my best to help!

This pattern is free to use but if you make one, please link back here.

Happy quilting!