Yep its that time again, I even wrote this one myself.
With all of the recent visitors and packages lately (for some crazy reason) we became aware that our letterbox lacked some sort of visual numerical system, that and it is butt ugly. I've had a couple of weeks off for the birth of our beautiful Addison, and not that staring at her could ever get old, but I just needed to fix, make or break something with my hands or I would go crazy.
Over the past year we have acquired a lot of wood from old packing crates and I have been dying to use it on some project, so here goes.
 |
| Chosen pallet lumber |
 |
|
|
|
|
|
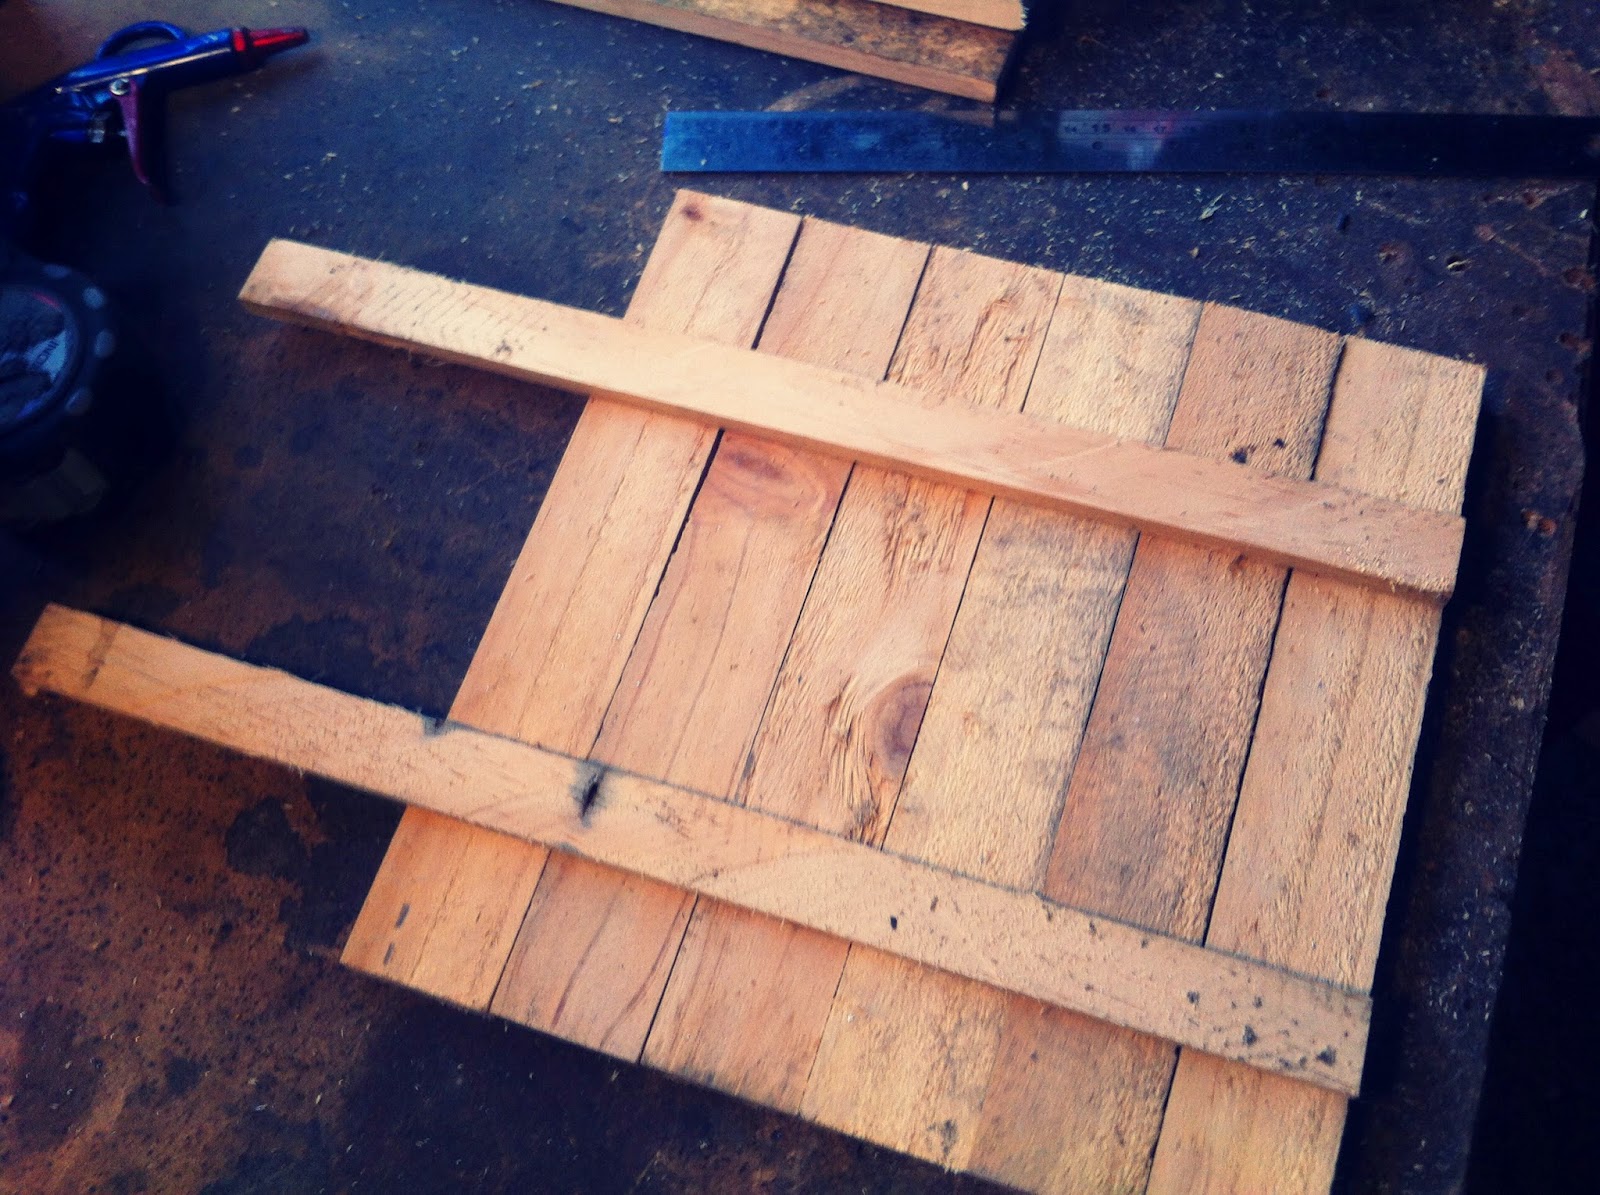
| Lumber ripped down to required sizes |
I guessed that I should work to some sort of plan or whatever so I drew up a wee plan on one of the planks. I decided that it should be about yay high, by yay wide by about yay deep and also have a shelfy thing for the mail to sit on.
 |
| Later on I needed more wood, so this plank got the chop too, you may even see the markings still on the wood |
|
Next step was to work on a frame to get the basic shape to which I would later attach the planks to. So after cutting them to size I glued and nailed the frame together, ensuring that everything was square and that the shelf would be in the correct place.
 |
| Framing cut to size |
 |
| Frame glued and nailed up, coulda done it different but thought this looked way cooler |
Next step was to add a few planks. Starting with the bottom, then the sides so that the front and back would butt join and cover them.
 |
| The bottom |
 |
| The first side |
After gluing and nailing these two on I clamped the frame and left the glue to set overnight before trimming the excess planks off on the table saw.
Before I put anymore sides on I decided to make and attach the top shelf.
 |
| Planks attached to two offcuts |
 |
| Trimmed to size and cutouts made to fit around frame |
 |
| Shelf glued and nailed in place |
Both sides and front also attached at this stage, note the mail slot, this was just one plank high and I just used offcuts to make the sides of it.
Assembling the back would be important because I wanted to have a back door to fit in the gap.
I temporarily attached two planks vertically and butted the offcuts up to these so there would be a precise gap for the door.
 |
| Temporary planks attached and glue in a nice wavy pattern to maximize adhesion... yep |
 |
| Used the offcuts from trimming the sides and front down |
 |
| Had just enough useable sized pieces |
The top of the letterbox would slope towards the back to discourage water getting into our precious mail.
After attaching all the panels I trimmed the angle using my trusty table saw.
 |
| Top trimmed and sanded a little to make it all flush like |
 |
| Attached top panels |
The top was centered width ways and placed so that there would be more overhang at the front.
The door was then measured up and assembled in much the same way at the shelf.
 |
| Attached old hinges and fashioned together a latch from old cupboard handles |
I love collecting old junk and its so hard to throw stuff out that I may be able to use someday on a cool project so this was a perfect chance to use some of that.
I love the look of old aged and white washed wood so to simulate that I mixed some white primer with quite a bit of paint thinner, it gets a more washed out look rather than a painted look.
 |
| Using a crappy old brush to put on the finish cos I can |
 |
| After the white wash finish |
The finishing touch was to add the numbers. I busted out the cans of rattle (spraypaint in gangster talk) and cut out some stencils.
I wanted the whole letterbox to have a weathered look about it, so with spraying on the numbers I wanted a bit of bleed through and over spray, usually these are not great things but in this case the more the merrier.
 |
| A few practice sprays to get the general idea |
 |
| The finished product, I also made a stencil of our initials |
Next step, take a hammer to the old box and attach the new, Amy even commented on the smile I had whilst smashing the old box.
 |
| Ew gross |
 |
| Ahh much better |
And they all lived happily ever after...
The End


THAT is awesome!
ReplyDeletebeing pallet wood (we use a lot of it also), isn't a bit of whitewash too little weatherproofing, given that this mailbox is going to be outside all the time?
ReplyDeleteyes
DeleteSorry Maria, I thought I had replied to this! Yes, ideally it would have an oil, stain or clear coat to protect it but since this was a trial, and Dave's first project he didn't bother. And you know what? 3 years later it is still going strong! Usually once it started to degrade, Dave would build a new, different looking one!
DeleteWow, go Mr. Racoon. You're a handyman dream :D
ReplyDeleteMaybe I missed it, but why are there 2 levels in the mailbox and how would the mailman access the lower level?
ReplyDeleteHi Daisy, the top level is for the letters and newspapers to sit on - so they don't just drop down to the bottom of the box. The bottom shelf is useful for small parcels - In NZ the mailman delivers these, and bigger ones are couriered and usually signed for or left at the back door/porch. The mailman can just reach around and open the back door of the letterbox and pop the parcel inside. Hope that helps!
DeleteReally an interesting and amazing post. Thanks for sharing this wonderful informative article .
ReplyDeleteRenovations in Clapham
I read your article, very informative and userinformatic info are mentioned. For Villa renovation companies Dubai also look our best Villa renovation companies. Keepit up bro to share more article like that. Thanks for sharing this ones.
ReplyDeleteGreat read thhankyou
ReplyDeleteLooking for top international nursing recruitment agencies in the USA? Our agency specializes in connecting talented international nurses with leading healthcare institutions across the country. We offer a full range of services, including visa assistance, credentialing, and tailored job placement, to ensure a seamless transition for our candidates. Our experienced team understands the complexities of international nursing licensure and provides expert guidance throughout the process. We work closely with hospitals and healthcare facilities to address their staffing needs while empowering nurses to find rewarding careers. With a commitment to ethical recruitment practices, we prioritize the success and satisfaction of both our clients and candidates. Contact us today to explore exciting nursing opportunities in the USA!
ReplyDeletehttps://www.dynamichealthstaff.com/international-nursing-recruitment-agencies-in-usa